Mar . 05, 2025 05:14 Back to list
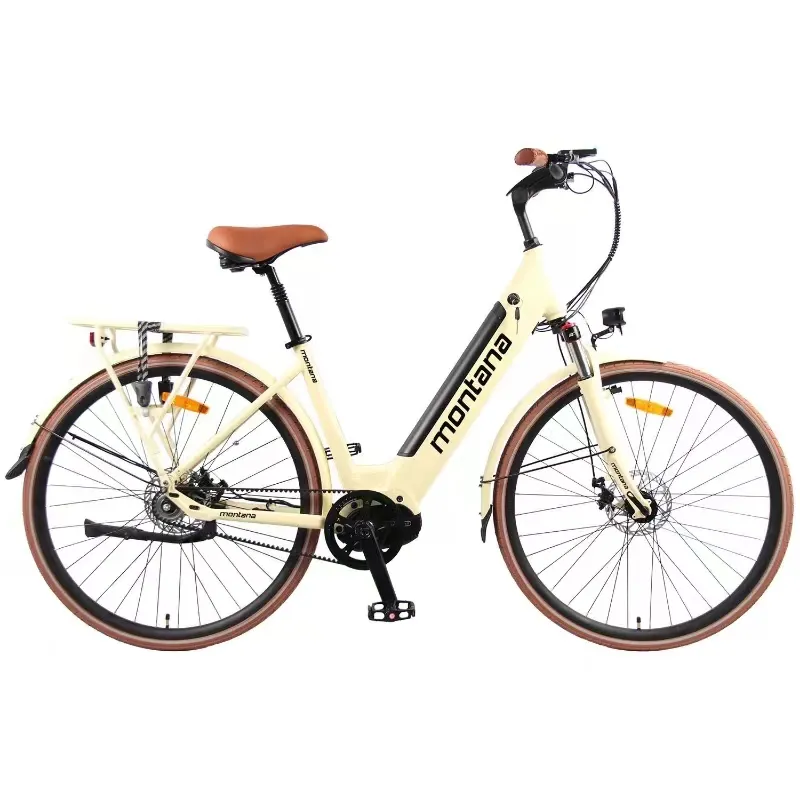
27.5/29 "Color-Changing Carbon Fiber Mountain Bike 12 Variable Speed Mountain Bike Dirt Bike


With the hanger confirmed true, install the new derailleur. Attach it to the derailleur hanger, fasten the bolt securely but ensure it is not overly tight to avoid stripping the threads. After securing it in place, guide the chain back through the derailleur’s jockey wheels, ensuring proper positioning to facilitate efficient gear shifts. Reattach and adjust the shifter cable. Secure it to the cable clamp, ensuring that there is enough tension for crisp shifting. Here, the use of a derailleur adjustment guide or referring to your specific model’s manual can be beneficial to achieve an optimal setup. Begin adjusting the derailleur limits. These settings ensure that your chain does not fall off the cogs during shifts. Using a screwdriver, adjust the upper and lower limit screws to align the derailleur with the smallest and largest gears of the cassette. This adjustment is crucial for preventing over-shift and under-shift occurrences which can otherwise cause chain derailment or noisy operation. Fine-tune the shifting using the barrel adjuster on the derailleur or shifter. Make small adjustments while shifting through the gears to ensure smooth, noise-free transitions across all positions. A properly tensioned cable will respond immediately to shifts, without lag or noise. Finally, take your bike for a test ride in a safe environment to confirm that all adjustments hold under actual riding conditions. Listen for any noise and feel for smooth transitions. Be prepared to make slight on-the-go adjustments using the shifter barrel adjuster if needed. This real-world trial perfects the tuning and ensures readiness for trails. Replacing a derailleur demands a combination of technical skill and patience, but with these comprehensive steps rooted in professional practice, you can enhance your bike’s performance significantly. Such meticulous care in replacement not only upholds your bike’s integrity but also elevates your own cycling experience, affirming your bike’s readiness for whatever trails lie ahead.
-
Discover Top E Bike Brand Insights, Specs & Future Trends | Yanline Bike
NewsNov.24,2025
-
Green E Bike – The Future of Sustainable Urban Mobility
NewsNov.24,2025
-
Ruffian eBike: Durable, Efficient Electric Bikes for Modern Mobility
NewsNov.23,2025
-
Comprehensive Guide to the Global E Bike Market and Future Trends
NewsNov.23,2025
-
Understanding Electric Bicycle Range: A Complete Guide for Smarter E-Bike Use
NewsNov.22,2025
-
Ceron Electric Bike – Efficient, Sustainable Urban Mobility Solutions
NewsNov.22,2025
-
Discover the Benefits and Innovations of Go Ebike | Sustainable Urban Mobility
NewsNov.22,2025


