Mar . 05, 2025 05:49 Back to list
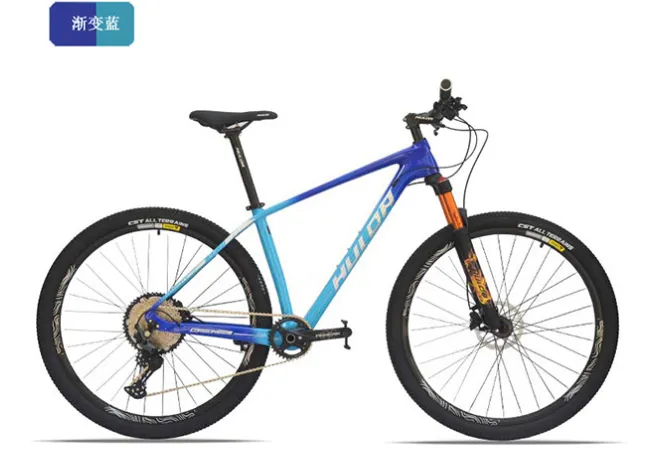
27.5/29 "Color-Changing Carbon Fiber Mountain Bike 12 Variable Speed Mountain Bike Dirt Bike


Before installing the new derailleur, inspect it for any manufacturer's defects. Begin by attaching it to the derailleur hanger using the bolts provided, ensuring it's tight but not over-torqued to prevent damage. Re-thread the gear cable through the derailleur. Proper routing is essential for smooth functioning, so follow the path precisely as noted during removal. Step 4 Adjust the Derailleur Adjustment is a critical step that influences performance. Initially, adjust the high and low limit screws. The high limit screw controls how far the derailleur moves towards the smallest sprocket, whereas the low limit screw governs its movement towards the largest sprocket. It’s vital these are set precisely to prevent the chain from overextending or under-reaching. Start by adjusting the high screw, aligning the jockey wheel with the smallest sprocket, and then move to the low screw ensuring alignment with the largest sprocket. Follow this by adjusting the B-tension screw to regulate the jockey wheel clearance. Ideally, there should be a 5-6mm gap between the guide pulley and the largest cog. Step 5 Fine-Tune the Shifting Reassemble the chain using the chain breaker tool, ensuring it passes correctly through the derailleur's guide and tension pulleys. Once assembled, run through your gear range while stationary, adjusting cable tension. Increase tension if the derailleur is slow to shift to a smaller cog, or decrease it if slow to shift to a larger cog. Make incremental adjustments for precision. Step 6 Test Ride and Final Adjustments Finally, take your mountain bike for a test ride. Shift through all gears, listening for any noise indicative of misalignment or improper tensioning. Make any necessary final tweaks, especially if shifting is still not as smooth as desired. Conclusion Remember, while replacing a rear derailleur is manageable, attention to detail is key. This experience doesn't just enhance riding quality but also arms you with a deeper understanding of your bike’s mechanics. With practice and this expert guide, you'll become proficient not only in changes but in diagnosing and adjusting, ensuring maintenance excellence. This not only guarantees an extended lifespan of your equipment but also enriches your cycling expertise.
-
Discover Top E Bike Brand Insights, Specs & Future Trends | Yanline Bike
NewsNov.24,2025
-
Green E Bike – The Future of Sustainable Urban Mobility
NewsNov.24,2025
-
Ruffian eBike: Durable, Efficient Electric Bikes for Modern Mobility
NewsNov.23,2025
-
Comprehensive Guide to the Global E Bike Market and Future Trends
NewsNov.23,2025
-
Understanding Electric Bicycle Range: A Complete Guide for Smarter E-Bike Use
NewsNov.22,2025
-
Ceron Electric Bike – Efficient, Sustainable Urban Mobility Solutions
NewsNov.22,2025
-
Discover the Benefits and Innovations of Go Ebike | Sustainable Urban Mobility
NewsNov.22,2025


