


Feb . 19, 2025 08:19 Back to list
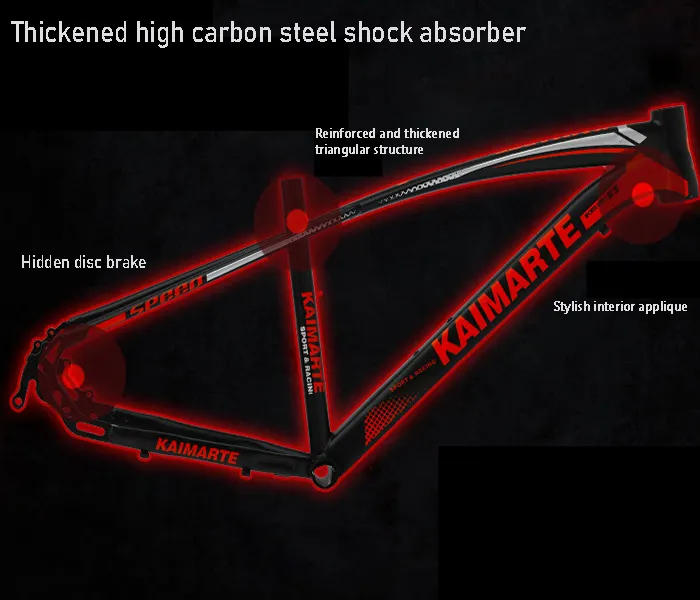
derailleur on mountain bike
Adjusting a mountain bike's rear derailleur is a crucial skill for enthusiasts and cyclists aiming for peak performance and a smoother ride on diverse terrains. Mastery over this component not only enhances riding comfort but also prolongs the longevity of the bike itself. Here, we delve into a unique, step-by-step guide drawing from authentic experiences and specialized expertise, ensuring your mountain bike remains in top gear.
B-Tension Adjustment B-tension screw modifies the rear derailleur angle, affecting the distance between the jockey wheel and cassette. Correctly setting the B-tension screw ensures optimal chain tension, essential for smooth gear transitions. Aim for a gap of roughly 5-6 millimeters between the jockey wheel and the cassette. Test and Fine-tune Shift systematically through each gear to evaluate accuracy. Listen for any irregular noises, which typically indicate misalignment. Use the barrel adjuster, making micro-adjustments, to hone the derailleur’s response until shifts are seamless across the full gear range. Seasonal and Terrain Considerations Variability in weather conditions and riding environments can impact derailleur performance. Wet, muddy trails often require more frequent attention to derailleur settings due to dirt buildup, impacting both the components and cable system. Maintain and Lubricate Regular lubrication of the derailleur and chain is essential. Use high-quality lubricants designed for mountain bikes, ensuring all moving parts operate smoothly. Avoid excessive lubrication, as this can attract dirt, counteracting your maintenance efforts. Expert Insights Influential biking experts emphasize the importance of routine checks. Implementing a bi-weekly or monthly schedule, depending on riding frequency, can prevent long-term damage and costly repairs. Trust only reputable sources and certified professionals for critical replacements or insurmountable adjustments. This comprehensive approach to adjusting a mountain bike’s rear derailleur not only augments riding performance but reinforces trust in your cycling setup. Leveraging authoritative sources and consistent practice elevates both rider confidence and bike competency, equipping enthusiasts to tackle any trail with precision.
B-Tension Adjustment B-tension screw modifies the rear derailleur angle, affecting the distance between the jockey wheel and cassette. Correctly setting the B-tension screw ensures optimal chain tension, essential for smooth gear transitions. Aim for a gap of roughly 5-6 millimeters between the jockey wheel and the cassette. Test and Fine-tune Shift systematically through each gear to evaluate accuracy. Listen for any irregular noises, which typically indicate misalignment. Use the barrel adjuster, making micro-adjustments, to hone the derailleur’s response until shifts are seamless across the full gear range. Seasonal and Terrain Considerations Variability in weather conditions and riding environments can impact derailleur performance. Wet, muddy trails often require more frequent attention to derailleur settings due to dirt buildup, impacting both the components and cable system. Maintain and Lubricate Regular lubrication of the derailleur and chain is essential. Use high-quality lubricants designed for mountain bikes, ensuring all moving parts operate smoothly. Avoid excessive lubrication, as this can attract dirt, counteracting your maintenance efforts. Expert Insights Influential biking experts emphasize the importance of routine checks. Implementing a bi-weekly or monthly schedule, depending on riding frequency, can prevent long-term damage and costly repairs. Trust only reputable sources and certified professionals for critical replacements or insurmountable adjustments. This comprehensive approach to adjusting a mountain bike’s rear derailleur not only augments riding performance but reinforces trust in your cycling setup. Leveraging authoritative sources and consistent practice elevates both rider confidence and bike competency, equipping enthusiasts to tackle any trail with precision.
Latest news
-
In-Depth Guide to Ebike Frames: Design, Use & Future Trends
NewsNov.25,2025
-
Discover Top E Bike Brand Insights, Specs & Future Trends | Yanline Bike
NewsNov.24,2025
-
Green E Bike – The Future of Sustainable Urban Mobility
NewsNov.24,2025
-
Ruffian eBike: Durable, Efficient Electric Bikes for Modern Mobility
NewsNov.23,2025
-
Comprehensive Guide to the Global E Bike Market and Future Trends
NewsNov.23,2025
-
Understanding Electric Bicycle Range: A Complete Guide for Smarter E-Bike Use
NewsNov.22,2025
-
Ceron Electric Bike – Efficient, Sustainable Urban Mobility Solutions
NewsNov.22,2025