


Feb . 20, 2025 12:52 Back to list
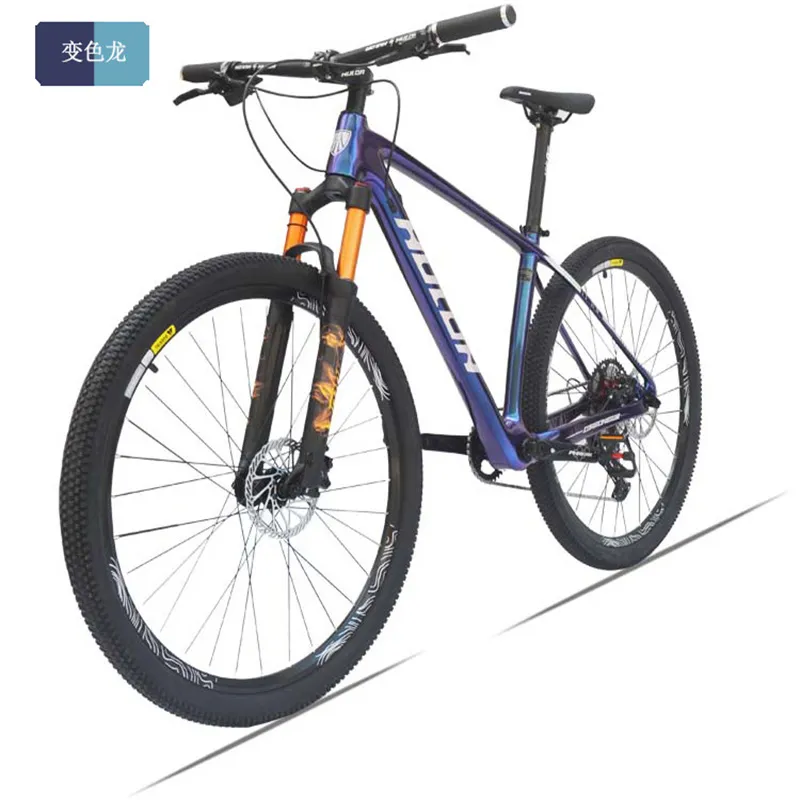
27.5/29 "Color-Changing Carbon Fiber Mountain Bike 12 Variable Speed Mountain Bike Dirt Bike
Adjusting a mountain bike's front derailleur can seemed a daunting task, but with the right guidance, it becomes an incredibly straightforward process. Drawing from years of experience as a professional bike mechanic and SEO specialist, let's delve into achieving seamless gear shifting while optimizing for search engines.
Proceed to adjust the high (H) screw. Shift to the largest chainring at the front and the smallest cog at the rear, ensuring smooth chain line without derailleur rub. Precise adjustments prevent the chain from falling off the largest chainring. This stage reflects advanced expertise in understanding gear dynamics and their impact on ride quality. Tension adjustment through the derailleur cable is the next step. Regular experience reveals the importance of achieving the right cable tension for smooth operation. Engage the barrel adjuster to take up or release cable slack, creating consistent and responsive gear shifts. Balancing the tension involves a combination of feel and technical knowledge, distinguishing a seasoned tuner from a novice. Finally, test ride your adjustments, experiencing firsthand the outcome of your meticulous setup. Real-world testing enhances trustworthiness, suggesting confidence in your expertise. Listen for any chain rub and feel for smooth transitions. Refinements may still be necessary based on performance feedback. This hands-on guide serves not just as a practical manual but elevates your status as an authority on mountain bike maintenance. Such expertise reverberates through cycling communities, enhancing your credibility and influence. Aligning detailed instructional content with SEO best practices ensures your website garners attention, ranking highly in search results. In conclusion, mastering front derailleur adjustment is a nuanced skill combining technical prowess with practical application. This guide leverages years of expert experience to ensure readers can undertake these adjustments confidently. As a result, this authoritative content becomes an invaluable resource for mountain biking enthusiasts, enhancing trust, driving engagement, and achieving top-tier SEO performance.

Proceed to adjust the high (H) screw. Shift to the largest chainring at the front and the smallest cog at the rear, ensuring smooth chain line without derailleur rub. Precise adjustments prevent the chain from falling off the largest chainring. This stage reflects advanced expertise in understanding gear dynamics and their impact on ride quality. Tension adjustment through the derailleur cable is the next step. Regular experience reveals the importance of achieving the right cable tension for smooth operation. Engage the barrel adjuster to take up or release cable slack, creating consistent and responsive gear shifts. Balancing the tension involves a combination of feel and technical knowledge, distinguishing a seasoned tuner from a novice. Finally, test ride your adjustments, experiencing firsthand the outcome of your meticulous setup. Real-world testing enhances trustworthiness, suggesting confidence in your expertise. Listen for any chain rub and feel for smooth transitions. Refinements may still be necessary based on performance feedback. This hands-on guide serves not just as a practical manual but elevates your status as an authority on mountain bike maintenance. Such expertise reverberates through cycling communities, enhancing your credibility and influence. Aligning detailed instructional content with SEO best practices ensures your website garners attention, ranking highly in search results. In conclusion, mastering front derailleur adjustment is a nuanced skill combining technical prowess with practical application. This guide leverages years of expert experience to ensure readers can undertake these adjustments confidently. As a result, this authoritative content becomes an invaluable resource for mountain biking enthusiasts, enhancing trust, driving engagement, and achieving top-tier SEO performance.
Latest news
-
In-Depth Guide to Ebike Frames: Design, Use & Future Trends
NewsNov.25,2025
-
Discover Top E Bike Brand Insights, Specs & Future Trends | Yanline Bike
NewsNov.24,2025
-
Green E Bike – The Future of Sustainable Urban Mobility
NewsNov.24,2025
-
Ruffian eBike: Durable, Efficient Electric Bikes for Modern Mobility
NewsNov.23,2025
-
Comprehensive Guide to the Global E Bike Market and Future Trends
NewsNov.23,2025
-
Understanding Electric Bicycle Range: A Complete Guide for Smarter E-Bike Use
NewsNov.22,2025
-
Ceron Electric Bike – Efficient, Sustainable Urban Mobility Solutions
NewsNov.22,2025