Feb . 20, 2025 08:07 Back to list
derailleur on mountain bike


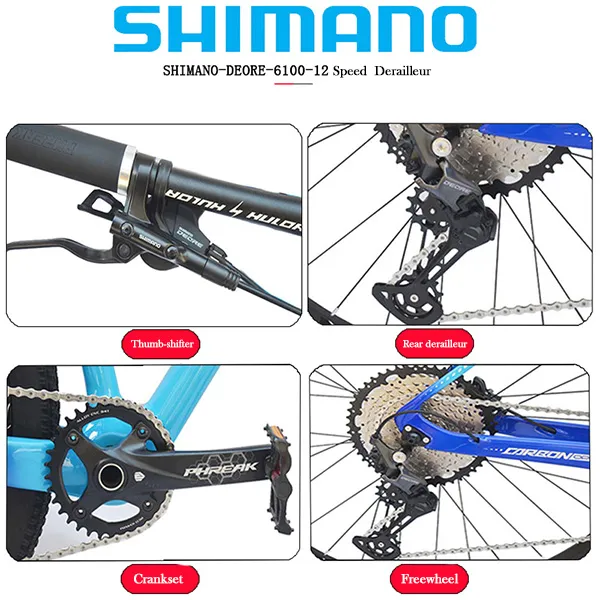
After the limits are set, fine-tune your derailleur with the B-tension screw, responsible for dictating the derailleur’s angular position. An over-buzzy chain means the derailleur is too close to the cogs; adjust the B-tension screw to increase this gap. Ensure it sits a few millimeters from the largest cog to maintain optimal performance without interference. Seasoned bikers rely on their sense of hearing as well. Listen carefully while riding; subtle drivetrain noises can indicate issues needing attention. A clicking sound often suggests improper cable tension, while a grinding noise under pressure might mean the chain is not fully seated on the cogs. Enthusiasts with technical acumen will attest that consistent maintenance is key. Regular lubrication of the derailleur’s moving parts mitigates wear and tear. Additionally, keeping your drivetrain clean contributes significantly to maintaining optimal shifting performance. Lastly, consider the impact of the shifting habits on derailleur longevity. Shifting under high pedal loads can strain the system, causing premature wear. Develop a predictive riding approach, anticipating terrain changes ahead and adjusting gears accordingly to prolong the life of your components. In conclusion, mastering the adjustment of a mountain bike rear derailleur pays dividends in biking efficiency and enjoyment. By systematically tackling each component's alignment, tension, and limit settings, you ensure a silky-smooth shifting experience. A seasoned approach combining mechanical know-how and attentive observation not only enriches your mechanical expertise but also elevates your riding mastery on any trail.
-
In-Depth Guide to Ebike Frames: Design, Use & Future Trends
NewsNov.25,2025
-
Discover Top E Bike Brand Insights, Specs & Future Trends | Yanline Bike
NewsNov.24,2025
-
Green E Bike – The Future of Sustainable Urban Mobility
NewsNov.24,2025
-
Ruffian eBike: Durable, Efficient Electric Bikes for Modern Mobility
NewsNov.23,2025
-
Comprehensive Guide to the Global E Bike Market and Future Trends
NewsNov.23,2025
-
Understanding Electric Bicycle Range: A Complete Guide for Smarter E-Bike Use
NewsNov.22,2025
-
Ceron Electric Bike – Efficient, Sustainable Urban Mobility Solutions
NewsNov.22,2025


