- Afrikaans
- Albanian
- Amharic
- Arabic
- Armenian
- Azerbaijani
- Basque
- Belarusian
- Bengali
- Bosnian
- Bulgarian
- Catalan
- Cebuano
- Corsican
- Croatian
- Czech
- Danish
- Dutch
- English
- Esperanto
- Estonian
- Finnish
- French
- Frisian
- Galician
- Georgian
- German
- Greek
- Gujarati
- Haitian Creole
- hausa
- hawaiian
- Hebrew
- Hindi
- Miao
- Hungarian
- Icelandic
- igbo
- Indonesian
- irish
- Italian
- Japanese
- Javanese
- Kannada
- kazakh
- Khmer
- Rwandese
- Korean
- Kurdish
- Kyrgyz
- Lao
- Latin
- Latvian
- Lithuanian
- Luxembourgish
- Macedonian
- Malgashi
- Malay
- Malayalam
- Maltese
- Maori
- Marathi
- Mongolian
- Myanmar
- Nepali
- Norwegian
- Norwegian
- Occitan
- Pashto
- Persian
- Polish
- Portuguese
- Punjabi
- Romanian
- Russian
- Samoan
- Scottish Gaelic
- Serbian
- Sesotho
- Shona
- Sindhi
- Sinhala
- Slovak
- Slovenian
- Somali
- Spanish
- Sundanese
- Swahili
- Swedish
- Tagalog
- Tajik
- Tamil
- Tatar
- Telugu
- Thai
- Turkish
- Turkmen
- Ukrainian
- Urdu
- Uighur
- Uzbek
- Vietnamese
- Welsh
- Bantu
- Yiddish
- Yoruba
- Zulu
Oct . 05, 2024 01:06 Back to list
Tips for Fine-Tuning Your Mountain Bike Derailleur Adjustment
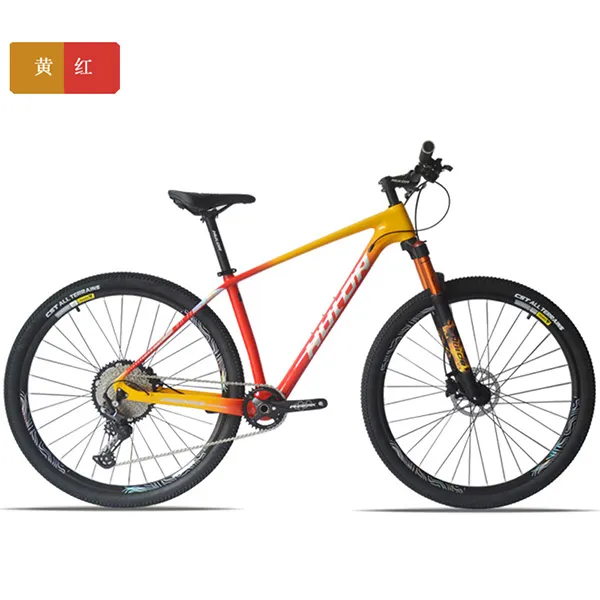
Adjusting a Derailleur on a Mountain Bike A Step-by-Step Guide
Maintaining your mountain bike is essential for optimal performance, and one of the most critical components to keep in check is the derailleur. The derailleur is responsible for shifting the chain between different gears, ensuring a smooth and efficient riding experience. If you find that your shifts are not crisp or your chain is slipping, it may be time to adjust your derailleur. Here’s a step-by-step guide to help you through the process.
Tools You’ll Need
Before you begin, gather the necessary tools a Phillips screwdriver, a 5mm Allen wrench, and a bike stand or a wall to lean your bike against. Having a clean work area will also help you stay organized.
Step 1 Inspect the Derailleur
Before making adjustments, thoroughly inspect your derailleur for any visible damage. Check the cables for fraying, ensure that the derailleur is not bent, and confirm that the chain is properly lubricated and in good condition.
Step 2 Adjust the High and Low Limit Screws
The high and low limit screws on the derailleur define how far the derailleur can move. Start by shifting the chain to the smallest chainring and the smallest rear cog. Locate the high limit screw (usually marked with an H) and adjust it to ensure that the derailleur does not push the chain beyond the smallest cog. Next, shift to the largest chainring and the largest rear cog, adjusting the low limit screw (marked with an L) similarly.
adjusting a derailleur on a mountain bike

Step 3 Tension the Cable
Once the limits are set, check the cable tension. With the chain still on the smallest chainring and cog, squeeze the shifter to shift up one gear. If the chain struggles to climb to the next cog, the cable may require more tension. Use the barrel adjuster, located where the cable enters the derailleur, to fine-tune the tension.
Step 4 Fine-tuning Shifts
Now it’s time to test your adjustments. Shift through the gears while pedaling gently. If the above adjustments are correct, the shifts should be smooth and accurate. If the chain is skipping or struggling to find the next gear, you might need further adjustments to the cable tension or the derailleur alignment.
Step 5 Final Check
Once you’re satisfied with the shifting performance, give everything a final check. Tighten any screws you may have loosened, and ensure that the derailleur is aligned correctly with the cassette and chainring.
In conclusion, adjusting a derailleur on a mountain bike takes some patience and practice, but it’s a valuable skill that can enhance your riding experience. Regular maintenance and adjustments will keep your bike shifting smoothly, allowing you to enjoy every ride to the fullest.
-
The Ultimate Kids' Four-Wheeler Experience
NewsJul.09,2025
-
The Ultimate Guide to Mountain Bikes: Gear Up for Your Ride
NewsJul.09,2025
-
The New Age of Cycling: Electric Bikes for Every Rider
NewsJul.09,2025
-
The Best Kids Bicycles: Ride in Style and Safety
NewsJul.09,2025
-
The Best 3-Wheel Scooters for Kids: Fun, Safety, and Adventure
NewsJul.09,2025
-
Revolutionize Your Ride: Affordable Electric Bikes
NewsJul.09,2025
-
Finding the Perfect Mountain Bike for Every Rider
NewsJul.09,2025


